When our AC stops cooling in East and West Kootenay, British Columbia, AB, there are several steps we can take to troubleshoot the issue. First, we should check the thermostat settings to verify that they function correctly. Next, inspecting the air filter can reveal if it needs replacing. But that’s just the beginning. Let’s explore what else we can do to effectively diagnose and resolve the problem.
Check the Thermostat Settings
Have you checked the thermostat settings yet? The simplest solutions can often save us a lot of trouble.
First, let’s confirm that it’s set to “cool” mode and that the temperature is lower than the current room temperature. If it’s set to “heat,” our AC won’t kick in, and we’ll feel frustrated.
Next, we should verify the temperature setting. It’s easy to bump the thermostat or accidentally forget we set it higher.
If we notice it’s on a timer or schedule, let’s check that it’s functioning correctly.
Also, remember to check if it’s in the energy-saving mode; sometimes, this can limit the cooling.
If everything looks good but the AC still isn’t cooling, it might be time to call in the High Point Plumbing, Heating & Cooling experts. They’re ready to help us figure out what’s going wrong, especially with their focus on customized cooling solutions to enhance comfort!
Inspect the Air Filter
When our AC isn’t cooling correctly, one of the first things we should do is inspect the air filter. A dirty or clogged filter can greatly hinder airflow, making our system work harder than it needs to.
Let’s check the filter for dust, dirt, and debris. If it looks grimy, it’s time to replace it.
We should also remember that regularly changing the air filter is essential to maintenance. Depending on usage, we might need to replace it every one to three months.
Keeping a clean filter improves our AC’s efficiency and enhances indoor air quality. Regular maintenance checks can help identify other potential issues before they escalate.
Let’s verify we’re using the right size and type of filter for our unit. This simple step can help our AC function more effectively and enjoy a cool, comfortable home.
If we still face issues, it might be time to call the professionals for further inspection.
Examine the Circuit Breaker
A malfunctioning circuit breaker can be a major culprit when our AC stops cooling. When we notice our system struggling, the first thing we should do is check the circuit breaker.
Sometimes, it trips due to electrical surges or other issues. Let’s start by locating our breaker panel, often in the basement or utility room.
Once we find it, we’ll look for any breakers in the “off” position or that look tripped. If we spot one, we can reset it by flipping it back to the “on” position.
It’s essential to make sure it stays on—if it trips again, there might be a deeper electrical issue. Regular AC maintenance services can help identify and prevent these issues from arising.
If the breaker seems fine, we may need to call a professional to investigate further. Keeping our electrical system in check is key to a smoothly running AC.
Assess the Outdoor Unit
The outdoor unit of our AC system plays an essential role in its overall performance, and examining it can reveal common issues that lead to cooling problems.
First, let’s check for any visible debris, like leaves or dirt, that might be obstructing airflow. A clean condenser coil is vital for efficiency, so we should gently remove any buildup.
Next, we can inspect the fan and verify it’s spinning freely without any noise. If it’s struggling, it might need lubrication or replacement.
We should also look at the electrical connections; loose wires can cause the unit to malfunction.
Finally, let’s observe if the unit is vibrating excessively. This can indicate an internal issue, which we should address promptly. Regular maintenance services can help identify and prevent such issues before they escalate.
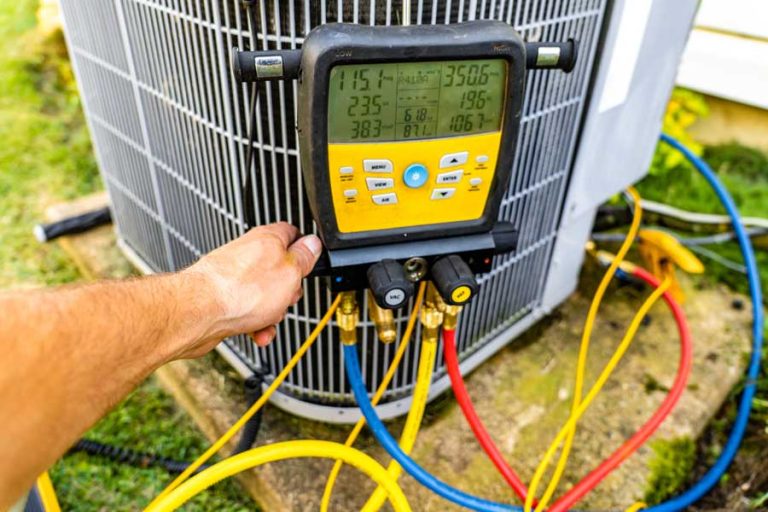
Look for Refrigerant Leaks
Identifying refrigerant leaks is essential for restoring our AC’s cooling efficiency. When we notice that our system isn’t cooling correctly, it’s time to check for these leaks.
First, we should look for any visible signs of refrigerant, such as oily spots around the coils or connections. If we smell a chemical odor, that might indicate a refrigerant leak, too.
Next, we can listen for hissing or bubbling sounds, which often signal escaping refrigerant. If we suspect a leak but can’t find it, it’s wise to call in a professional. Technicians use specialized tools to detect leaks that we might miss.
Addressing refrigerant leaks quickly improves cooling and prevents further damage to our system.
Conclusion
To sum up, when our AC stops cooling, we can take several simple steps to troubleshoot the issue before calling in a professional. By checking the thermostat, air filter, circuit breaker, and outdoor unit, we often uncover the root of the problem. Curiously, studies suggest that many cooling issues stem from neglected maintenance rather than system failure. Keeping up with regular checks can save us time and money while ensuring our comfort during East and West Kootenay, British Columbia’s hot summer days.